We all have that friend with the perfect photo on every social media profile. The sparkling smile, the relaxed demeanor, the friendly eyes… it’s a little annoying, only you also wish you had a photo like that, right? So, what exactly makes a great smile in photographs, and how can you get one? Learn how to smiles with braces!
If you’re wearing braces from an Avondale orthodontist, you’re already on track to getting the smile you’ve always wanted, but the good news is that you don’t have to wait until the braces come off to dazzle with your smile. You’ll be surprised at how great you look when you follow these 10 steps to getting great photos with braces. It all starts with knowing how to smile with braces.
Ten Steps
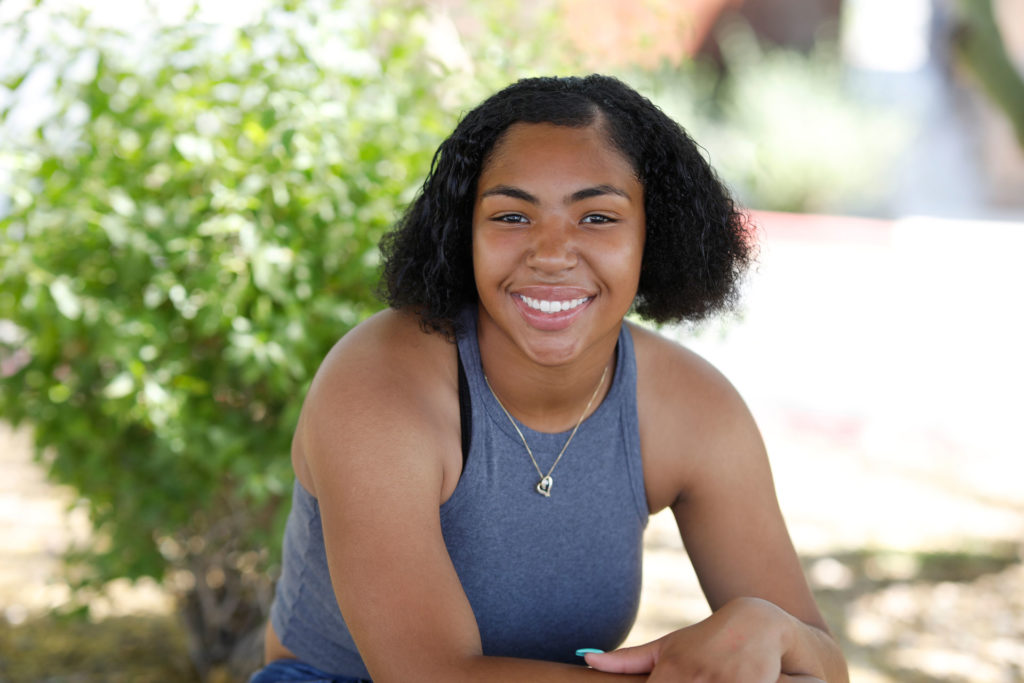
- Look the photographer in the eyes. If you’re having someone take a profile photo of you for a social media site, you’ll look friendlier if you look at the camera rather than away from it. Studies show that people perceive you as being more attractive and more engaging if you look directly at them in social media profile photos. Gazing off in the distance often makes for an attractive photo, too, but may not be as effective if you’re trying to create the perfect profile picture.
- Clean your teeth and braces. It’s amazing how many times people overlook this simple trick to getting great photos. Brush and floss before photos and put on lip balm or lip moisturizer to make sure your lips aren’t dry and flaky. Dry lips can catch more easily on your braces, so keep your lips moisturized and wear lip balm with sunscreen to prevent sunburn.
- Stand with good posture. Hold your chin up, your chest high, and tuck in your tummy. If you slouch in photos, you’ll give yourself a double chin.
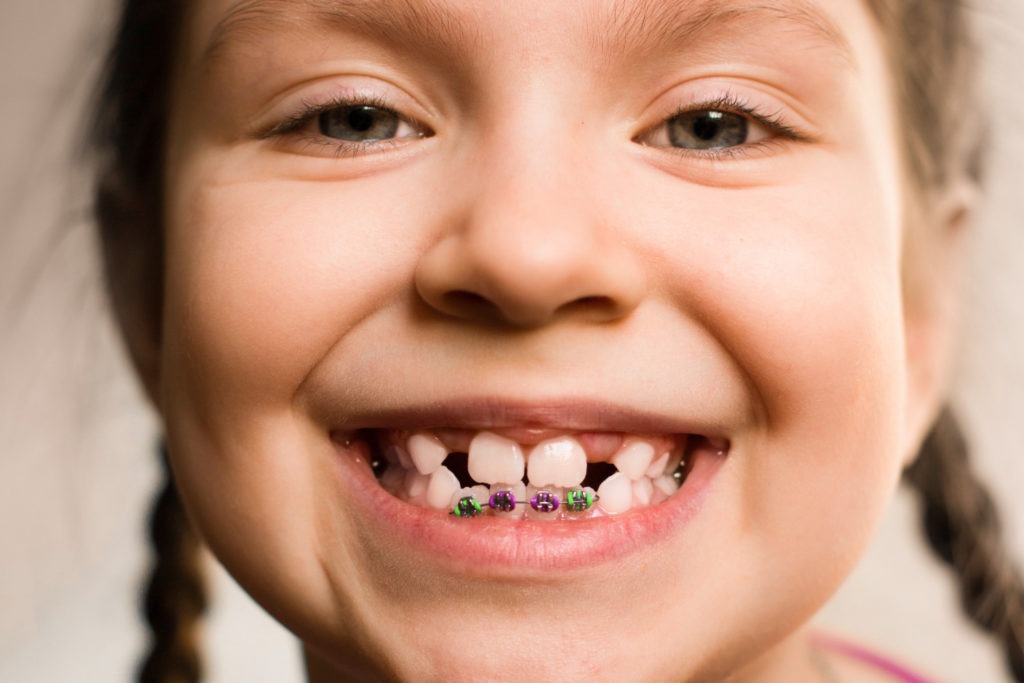
- Part your lips when you smile. A lot of people make the mistake of thinking that if their teeth aren’t perfect, or if they’re wearing braces, they should smile close lipped. There are some smiles that photograph well with the lips mostly closed. But in general, keeping your lips pinched together doesn’t make you look attractive. Even if you are self-conscious about your teeth, you should always part your lips a little. It shows sincerity and friendliness. A closed-lipped smile is often perceived as being fake or insincere.
- Don’t use a flash. Photos taken with the flash on will enhance the appearance of the lines around your mouth and eyes. Professional photographers use special equipment to distribute the light from flashes evenly (that’s what those big white diffusers and reflectors do), but if you use a flash without high-end equipment it’ll make your skin look less attractive than it does in real life. Instead of using a flash, take photos outdoors in late afternoon light for the most flattering photos.
- If possible, opt for solid colors over patterns. You don’t have to toss that striped shirt—it looks great in real life! But tightly cropped-in photos of you wearing busy prints tend to distract and pull focus away from your face and your awesome smile.
- Take off sunglasses. Great profile photos usually have this in common: they show you looking your best and friendliest. If you’re keeping your eyes hidden, you aren’t as approachable or open. Celebrities can sport the sunglasses because they’ll be recognized anyway. But unless you’ve arrived in celebrity land, toss the shades for profile photos.
- Ladies—wear lipstick. If you pick the right shade of lipstick, it’ll make your teeth look whiter. Try on several shades to find one that works best. Make sure you don’t have lipstick on your teeth or on your braces before the camera comes out, though! Keep a compact handy for quick checks.
- Smile gently. If you “smile hard” it’ll bring out more lines, tense up your neck muscles, and can be less attractive in photos. This isn’t true in real life. You don’t have to worry about lighting and camera angles when your best friend tells you some awesome news, so smile however you like. But for photos, keep your smile from going over the top. One good rule of thumb is this: the curve of your lower lip should match the line of your upper teeth when you’ve got your “photo smile” on.
- Practice your photo smile. It might not feel natural at first if you’re used to either grinning hard or wearing a poker face all day. Try smiling a little while you walk around school or while you’re shopping. Who knows? You might even make a few new friends.
If you would like to improve the appearance and/or function of your teeth, contact us at Dunn Orthodontics. We look forward to helping you put on your very best smile—for life!
Interested in learning more about how Dunn Orthodontics can help you achieve a winning smile? We service the entire Phoenix area, with orthodontics offices in Litchfield Park, Phoenix, and Arcadia. Contact us today at the location most convenient for you for a complimentary consultation.
Schedule a Free Consultation